 Ujaval Gandhi
Open BIL, BIP or BSQ files in QGIS
When dealing with remote sensing and scientific datasets, one often comes across data in formats like BIL, BIP or BSQ. The GDAL library - which is used by QGIS to read raster files - has support for these formats, but it cannot open these files by itself. We will go through the process of creating support files so these formats can be read by QGIS.
Band interleaved by line (BIL), band interleaved by pixel (BIP), and band sequential (BSQ) are common methods of organizing image data for multiband images. (Read more about these formats)
Typically, these files are accompanies by a .hdr file. If your dataset came
with a .hdr file, make sure the root name of the .bil, .bsq or .bip file and
the .hdf files match and they are in the same directory. For example, if the
file is called image.bil , the associated file should be named image.hdr and
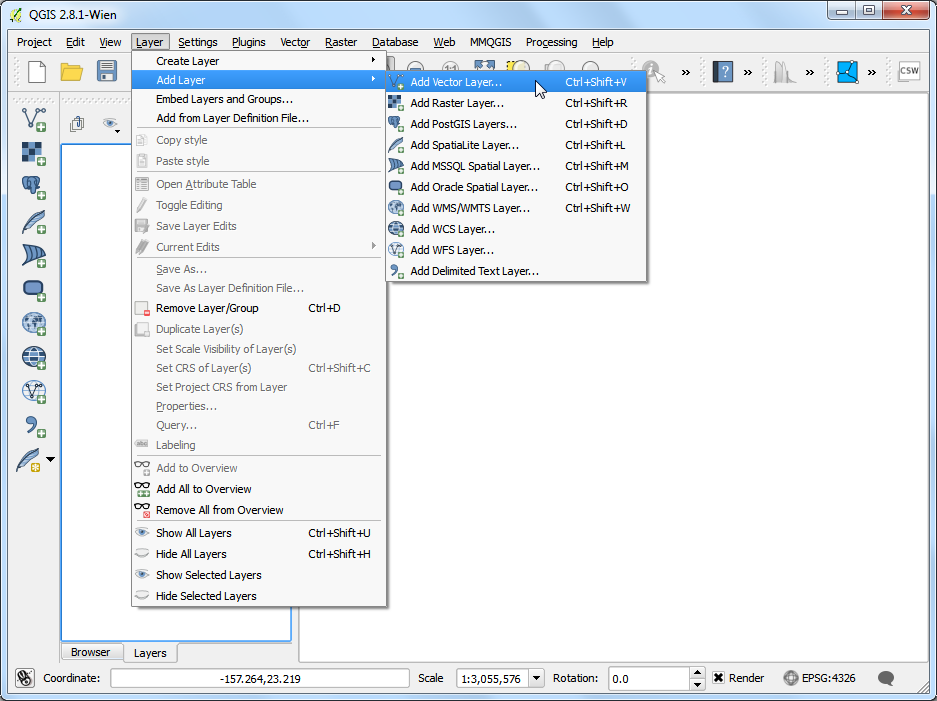
present in the same directory as the image.bil file. Then when you go to
, select the image.bil file and
it will open without problems.
Many a times, the files do not come with an associated .hdr file. In such
cases, you must create this file by hand as shown in this tutorial.
Get the data
We will use the AVHRR Global Land Cover Classification data from Global Land Cover Facility as an example.
The Global Coverage datasets are distributed as BSQ files. Download the 1 Degree pixel resolution dataset.
For convenience, you may directly download a copy of the dataset from the link below:
Procedure
Unzip and extract the .bsq file. On Windows, you may use the excellent 7-Zip utility to read and extract .gz file. You will see that you only have a .bsq file named
gl-latlong-1deg-landcover.bsq. There is no hdr file.
Note that if you try to open the
gl-latlong-1deg-landcover.bsqfile in QGIS as it is, you will get an error message.
To overcome this error, we will create a header file with
.hdrextension. The header file contains information about the dataset and how it is organized. Usually, this information is supplied as part of Metadata for the dataset. If you do not have the metadata, look at the website or documentation for clues. Some of the information can be guessed if you do not know it. In case of this dataset, the data download page links to the metadata. Download the metadata and open it.
The .hdr file needs to be a plain text file in the following format. Some of these parameters are given to us and some needs to be worked out. Learn more about the format.
ncols <number of columns or width of the raster>
nrows <number of rows or height of the raster>
cellsize <pixel size or resolution>
xllcorner <X coordinate of lower-left corner of the raster>
yllcorner <Y coordinate of the lower-left corner of the raster>
nodata_value <pixel value to be ignored>
nbits <number of bits per pixel>
pixeltype <type of values stored in a pixel, typically float or integer>
byteorder <byte order in which image pixel values are stored, msb or lsb>
Open a text editor and create a file in the format specified in the previous step. Save the file as
gl-latlong-1deg-landcover.hdr. Make sure the file doesn’t have.txtat the end. Some of the values in the text files are easy to understand. The ncols and nrows come from the metadata as the Number of Lines and Number of Pixels per Line. The cellsize is 1 as the Pixel resolution from the metadata. The X,Y coordinate of lower-left corner needs to be worked out by us. Since the file covers the entire World and units are lat/long, xllcorner and yllcorner are -180 and -90 respectively. We do not have any information about the nodata_value, so -9999 is a safe bet. From metadata again, Pixel Format is Byte, so nbits will equal to 8 and pixeltype will be byte_unsigned. We do not have information about the byteorder, so leave it as msbfirst. You may download the correctly formatted HDR file from here.
Now that you have the header file, put it in the same directory as
gl-latlong-1deg-landcover.bsq. Then in QGIS, go to . Selectgl-latlong-1deg-landcover.bsqas your input and click Open.
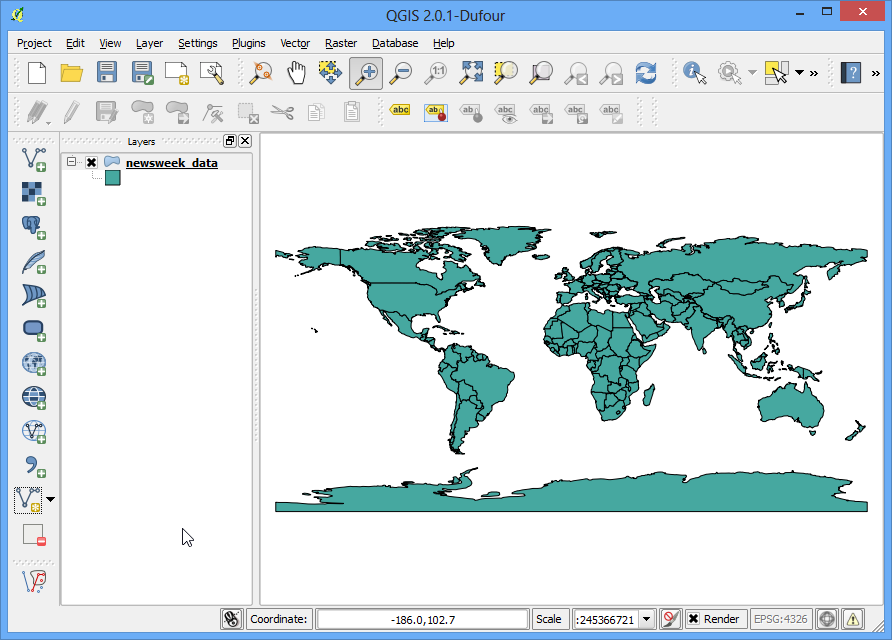
In the next screen, you may be prompted to choose a CRS. Since the data is in Lat/Long, choose WGS84 EPSG:4326 as your CRS. Now you will see the dataset loaded in QGIS.
