Ujaval Gandhi
用 QTiles 製作底圖
Tiles have revolutionized the idea of web mapping and has given us fast and easy access to large datasets. Tiling schemes divide the World into small tiles (typically 256 x 256 pixels) for each zoom level and pre-render datasets to these tiles. This way only a small fraction of a large dataset is served to the user at any given time - resulting in a map that can be zoomed or panned with ease over the internet. There are many methods to create tiles from GIS datasets. One easy way to create tiles from your QGIS project is a plugin called QTiles. In this tutorial, you will learn how to create PNG tiles from any set of layers loaded in QGIS and create a basemap to be used in a web mapping project.
內容說明
我們要使用 Natural Earth 覆蓋整顆行星的資料創造地圖圖磚。
取得資料
本教學使用 Natural Earth 提供的 Natural Earth 2 資料集。
下載中解析度的 Natural Earth II 渲染地形,水文與河流的壓縮檔
資料來源 [NATURALEARTH]
操作流程
解壓縮
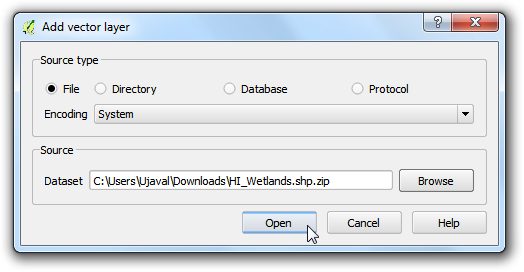
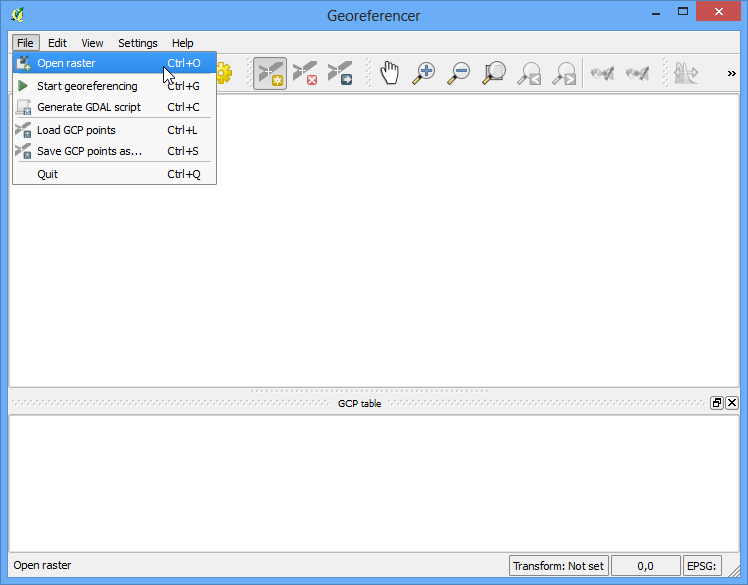
NE2_LR_LC_SR_W.zip到你電腦中,開啟QGIS 然後點選 。前往你剛剛解壓縮檔案的資料夾內,選擇NE2_LR_LC_SR_W.tif然後按下 確定。
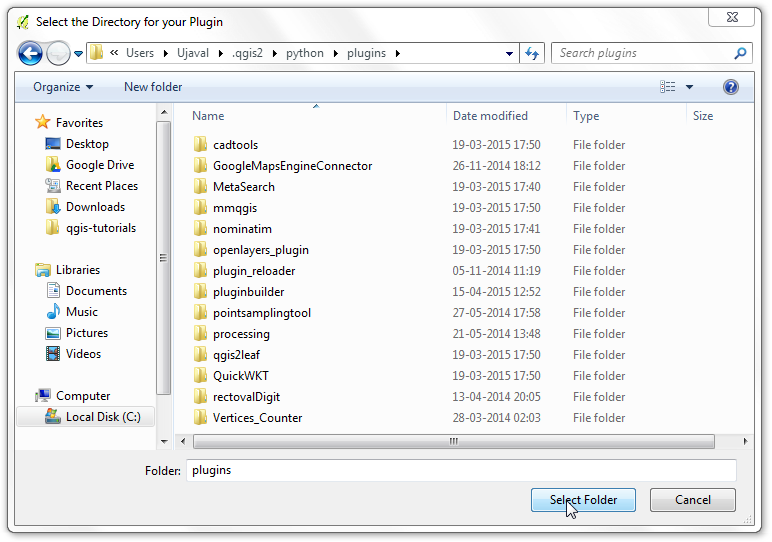
選擇 ,然後安裝
QTiles附加元件。注意這個附加元件目前是標記成 實驗性 的套件,所以你可能要把在附加元件的設定選項中把 顯示實驗性質的附加元件 勾選起來才看得到。 (有關如何安裝 QGIS 的附加元件,請參考 使用附加元件。) 附加元件安裝後,選擇 。
在 QTiles 視窗中,Output 選擇 Directory,然後選擇一個資料夾作為輸出檔會存放的地方。選擇
NE2_LR_LC_SR_W的 Layer extent,作為圖磚的地圖範圍。把 Maximum Zoom 設為6。展開 Parameters 框框然後勾選 Write Leaflet-based viewer。最後,點選 Run 以開始進行圖磚的繪製工作。
備註
The number of tiles increase 4 times for every additional zoom level and since our layer has an extend of the entire World - there will be millions of tiles at higher zoom levels.
執行完成後,關閉 QTiles 視窗然後打開你剛剛選擇的輸出資料夾。你會看到現在出現了名稱為不同縮放等級的資料夾,每個資料夾內包含了檔名是 X 座標的子資料夾,然後子資料夾內才有檔名是 Y 座標的圖磚檔。
在圖磚首層路徑的上一層資料夾中,你會看到一個叫
QTiles.html的檔案,可以用來檢查剛剛使用 Leaflet 線上製圖函式庫做出的圖磚。
按兩下以在瀏覽器中開啟
QTiles.html,然後你可以到處縮放和移動,看看這些圖磚是如何從原始的影像圖層中分割,再被無縫接軌在一起。
你可以在任何支援 XYZ 圖磚規格的線上地圖中套用本圖磚,並且再套疊任何圖層在其之上。為了展示圖磚技術到底有多有用又便利,我們現在就要來把剛做出來的圖磚作為我們在 使用 QGIS2Web 線上製圖 教學中製作出來的機場地圖中的底圖。在那章的教學中,我們選了 OpenStreetMap 預製好的底圖,現在我們可以簡單地把它更換成我們在這章中做出來的底圖。前往 qgis2web 地圖輸出的資料夾,然後打開在輸出過程中產生的 檔案。
找到
OSM B & W底圖被呼叫的那段程式碼。
把底圖的呼叫指令替換成我們的圖磚。目前,這些圖磚只存在我們的電腦上,所以這邊的網址列必須要換成本地路徑才行,但是你也可以選擇上傳這些圖磚到某個伺服器上,然後在指定連到那個伺服器的網址。把標題和來源改成符合 Natural Earth 資料的敘述,最後存檔。
new ol.layer.Tile({
 'title': 'Natural Earth 2',
 'type': 'base',
 source: new ol.source.XYZ({
     url: 'C://Users/Ujaval/Desktop/QTiles/{z}/{x}/{y}.png',
     attributions: [new ol.Attribution({html: 'Made with Natural Earth. Free vector and raster map data @ naturalearthdata.com.'})]
 })
})
在瀏覽器中開啟線上地圖,然後你就可以看到現在 B & W OSM 圖層已經被置換成我們剛出爐的圖磚了。