 Ujaval Gandhi
Python 程式設計的初步上手 (QGIS3)
QGIS 具有強大的程式設計介面,支援目前流行的 Python 語言,可以讓你擴展此軟體的核心功能,或是撰寫腳本讓你想做的事情可以自動執行。不論你是否對 QGIS 或 Python 有深入了解,知道一點 QGIS 程式介面的使用方法一定會讓你的工作事半功倍。閱讀本教學不需任何程式設計的背景,我們會從頭開始敘述 QGIS 的 Python 程式設計方法 (PyQGIS)。
內容說明
我們要以 Python 腳本處理世界上所有機場位置的點向量圖層,此腳本會輸出圖層中機場名字、機場代碼與經緯度資訊到一個文字檔中。
取得資料
本教學使用 Natural Earth 提供的 機場 資料集。
Download the Airports shapefile.
操作流程
Locate the
ne_10m_airports.zipfile in the QGIS Browser and expand it. Select thene_10m_airports.shpfile and drag it to the canvas.
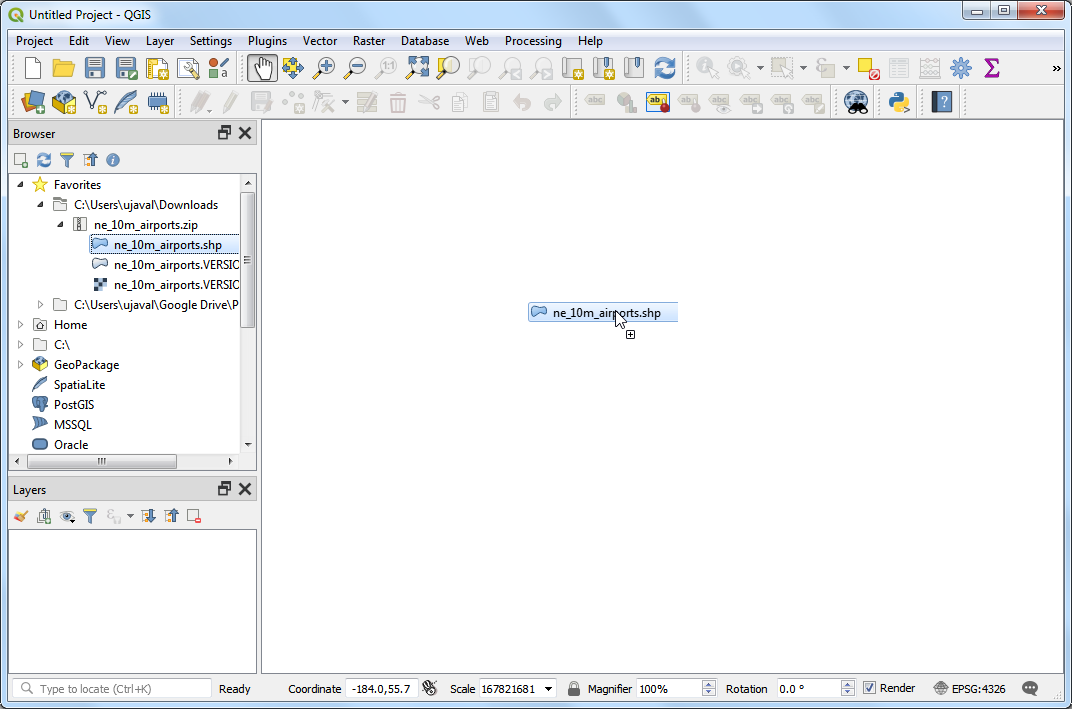
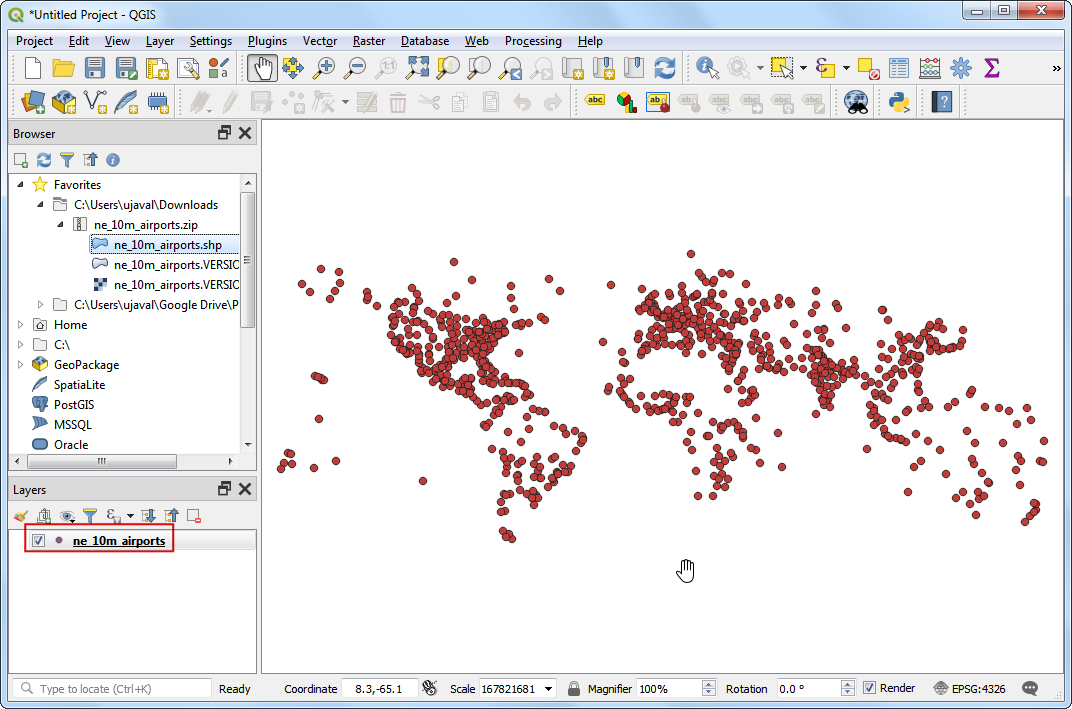
接著 QGIS 中就可以看到
ne_10m_airports圖層。
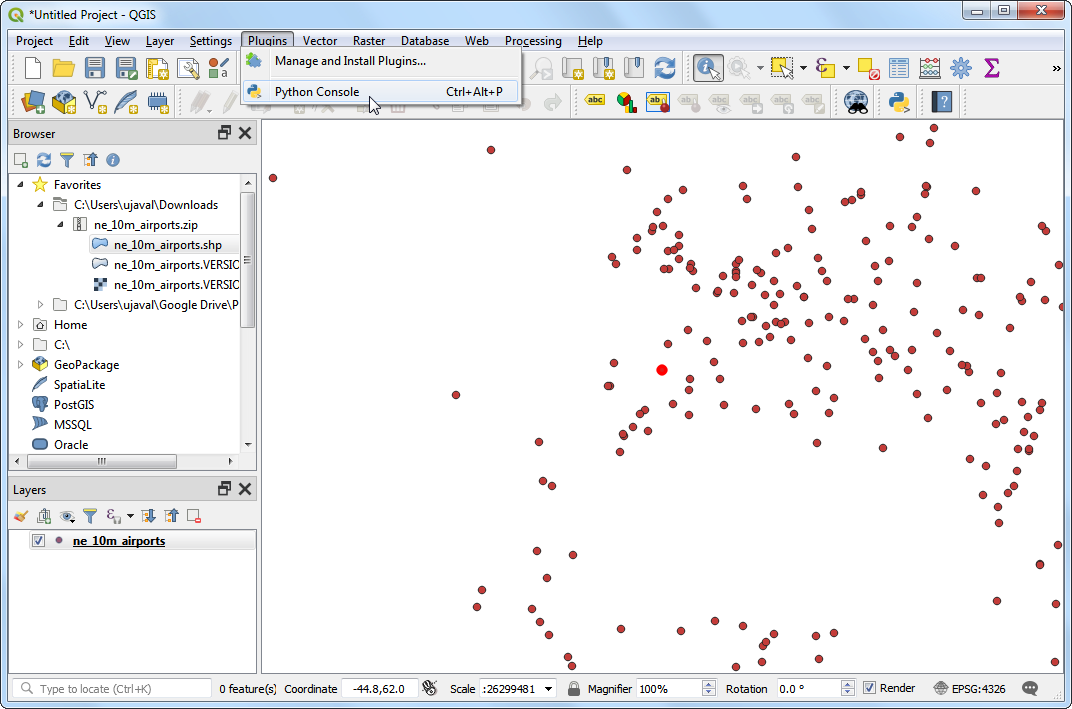
Select the Identify tool and click on any of the points to examine the available attributes. You will see that the name of the airport and it's 3 digit code are contained in the attributes
nameandiata_coderespectively. You can close the Identify window.
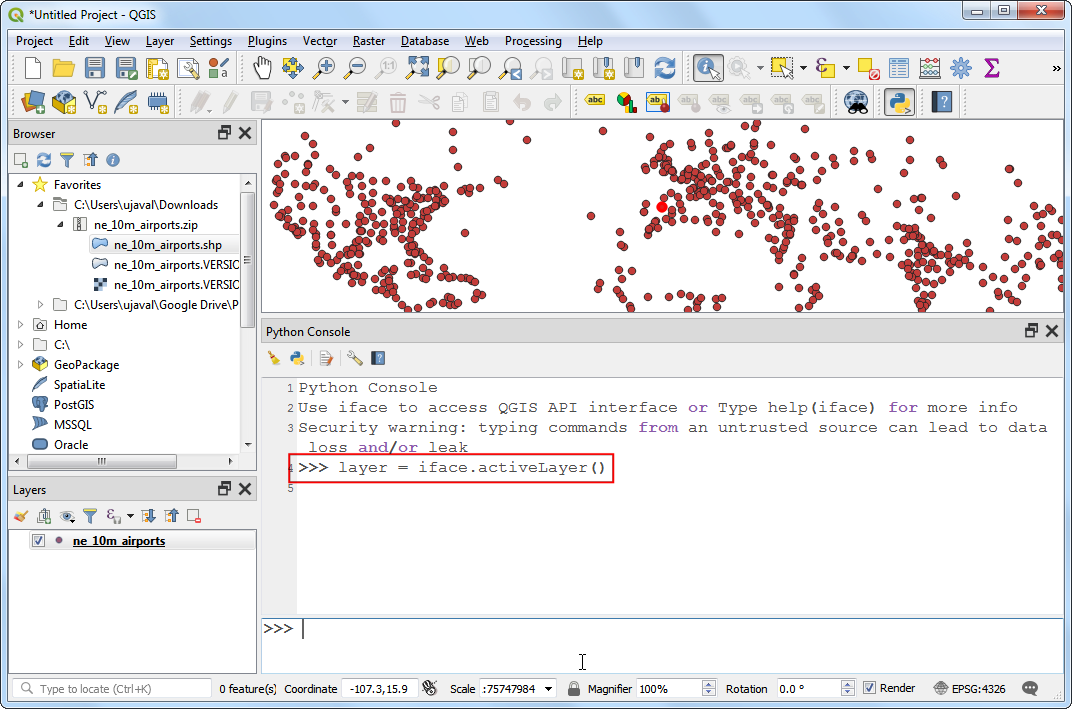
QGIS provides a built-in console where you can type python commands and get the result. This console is a great way to learn scripting and also to do quick data processing. Open the Python Console by going to .
這時有個新面板會出現在 QGIS 畫布下方,而且最底下會有一個左側有
>>>的欄位,這裡就是輸入指令的地方。在此模式下方所有與 QGIS 環境的互動,都會透過一個叫做iface的變數來達成。例如要存取現在顯示在 QGIS 中的圖層的話,可輸入如下指令後按下 Enter 鍵,layer這個變數就會被設定成此圖層。
layer = iface.activeLayer()
Python 中有個蠻實用的函數叫做
dir(),它會秀出某物件的所有可操作方法。當你不太了解這個物件該怎麼操作時,這個函數相當管用。所以我們就輸入如下指令,看看接下來我們可以對layer變數做什麼事情。
dir(layer)
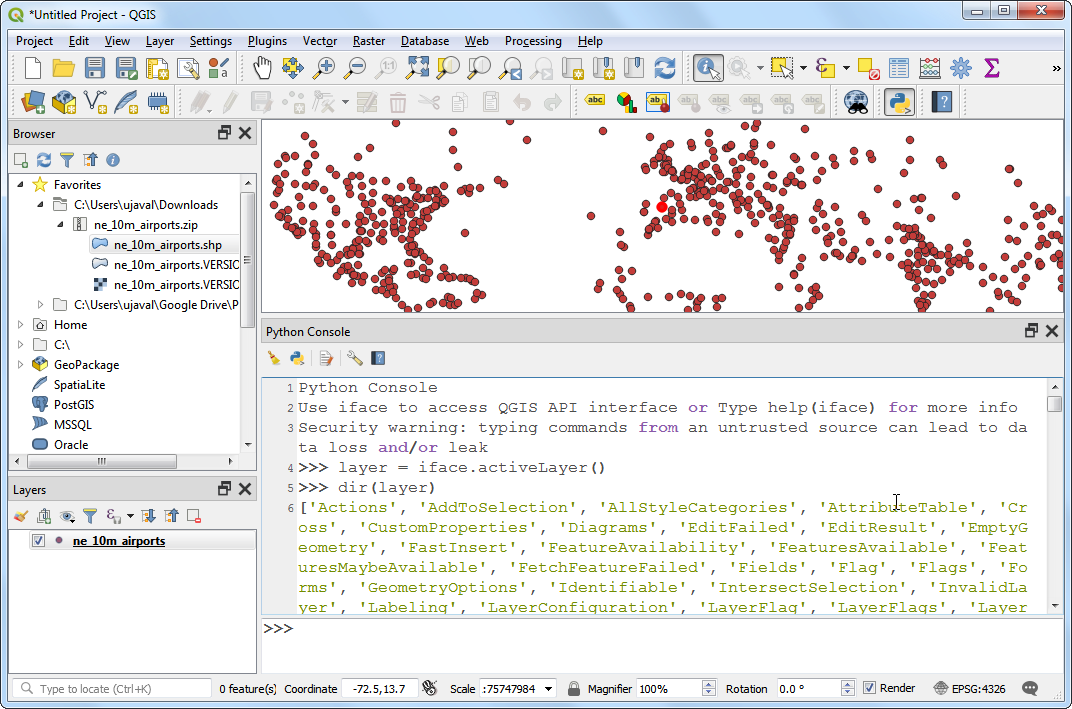
You will see a long list of available functions. For now, we will use a function called
getFeatures()which will gets you the reference to all features of a layer. In our case, each feature will be a point representing an airport. You can type the following command to iterate through each of the features in the current layer.
備註
Indentation (or number of spaces before each statement) is very important in Python. If you get error in this step, make sure you have added 2 spaces before typing the second line.
As the print(f) statement is inside a for-loop, you will need to press Enter twice after that statement - once to exit the loop - and another to execute the command.
for f in layer.getFeatures():
  print(f)
接著在輸出畫面中就可以看到每一行都是圖層中的一個特定圖徵。圖徵的資訊會存在
f變數當中,所以只要對f進行一些操作,就可以取得圖徵的屬性,像是輸入下面的指令,就可以印出每個機場的name和iata_code屬性。
for f in layer.getFeatures():
  print(f['name'], f['iata_code'])

現在我們已經知道要怎麼用指令取得圖層中的圖徵屬性了,接下來我們還得取得圖徵的座標。向量圖徵的座標可以使用一個叫做
geometry()的函數來取得,此函數會輸出一種「幾何物件」,這裡我們把它存在geom變數中,而「點幾何物件」可以透過asPoint()函數來取得這個物件的 x 與 y 座標。如果圖徵是線或是多邊形的話,取得座標的函數會變成asPolyline()或asPolygon()。請輸入以下指令後按下 Enter,就可以看到每個圖徵的座標。
for f in layer.getFeatures():
  geom = f.geometry()
  print(geom.asPoint())
如果我們只想要秀出
x座標的話要怎麼辦? 只要在點幾何物件上多套入一個x()函數就行了,如下所示。
for f in layer.getFeatures():
  geom = f.geometry()
  print(geom.asPoint().x())
Now we have all the pieces that we can stitch together to generate our desired output. Type the following code to print the name, iata_code, latitude and longitude of each of the airport features. Here we are using the
.format()method which gives more control on printing multiple variables. The.2fnotation is to limit the coordinates to 2 decimals.
for f in layer.getFeatures():
  geom = f.geometry()
  print('{},{},{:.2f},{:.2f}'.format(f['name'], f['iata_code'], geom.asPoint().y(), geom.asPoint().x()))
You can see the output printed on the console. A more useful way to store the output would be in a file. You can type the following code to create a file and write the output there. Replace the file path with a path on your own system. Note that we add
\nat the end of our line formatting. This is to add a newline after we add the data for each feature.
備註
There are 2 levels of code blocks below. Do make sure to add 4 spaces to the code starting line 3.
with open('/Users/ujaval/Desktop/airports.txt', 'w') as file:
  for f in layer.getFeatures():
    geom = f.geometry()
    line = '{},{},{:.2f},{:.2f}\n'.format(f['name'], f['iata_code'], geom.asPoint().y(), geom.asPoint().x())
    file.write(line)
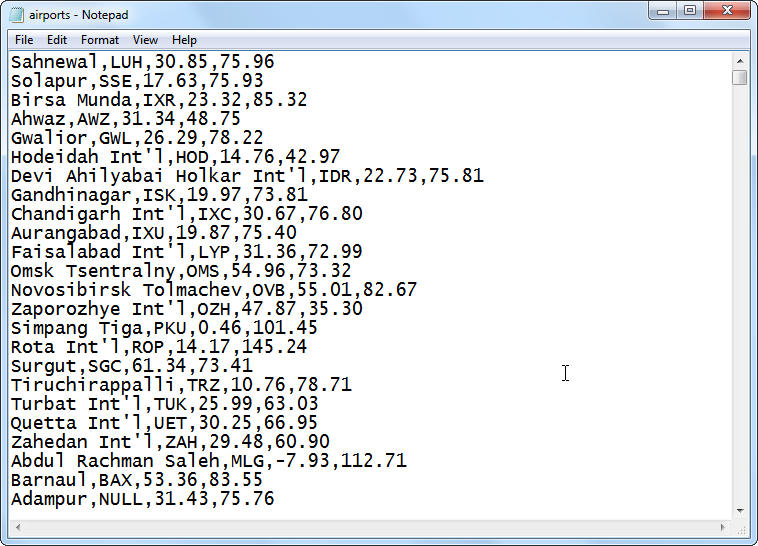
最後就可以在輸出的文字檔中,查看我們剛剛利用 Python 指令從 shapefile 中轉存出來的資料了!
If you want to give feedback or share your experience with this tutorial, please comment below. (requires GitHub account)