BIL, BIP 혹은 BSQ 파일 열기
원격탐사 그리고 과학적 데이터셋을 다룰 때, 종종 BIL, BIP 혹은 BSQ 형식의 파일을 만나게 됩니다. `The GDAL library <http://www.gdal.org>`_는 래스터 파일을 읽을 때 QGIS에서 사용되는 것인데 이러한 형식의 파일들을 지원합니다. 그러나 이러한 파일들은 자체로는 열 수 없습니다. 이러한 파일들을 QGIS에서 읽을 수 있도록 여기서는 지원파일을 만드는 과정을 진행할 것입니다.
Band interleaved by line (BIL), band interleaved by pixel (BIP), 그리고 band sequential (BSQ)은 다중 밴드에 대한 영상데이터를 정리하는 일반적인 방법입니다. (이러한 형식에 대해 더 읽어보시기 바랍니다 <http://webhelp.esri.com/arcgisdesktop/9.2/index.cfm?TopicName=BIL,_BIP,_and_BSQ_raster_files>`_)
전형적으로 이러한 파일들은 .hdr 파일을 동반합니다. 만약 데이터셋이 .hdr``파일과 왔다면 .bil, .bsq 또는 .bip 그리고 .hdf 파일이 루트명칭과 일치하는지를 확인하고 그것들이 같은 디렉토리에 있는지도 확인하십시오. 예를 들면, ``image.bil``라는 파일이 있다면, 관련된 파일은 ``image.hdr 여야 하고 ``image.bil``파일로써 같은 디렉토리에 있어야 합니다. 그러면 메뉴 래스터 –> 래스터 데이터 추가 :menuselection:`Layer –> Add Raster Layer`로 갔을 때 ``image.bil``를 선택하면 문제없이 열릴 것입니다.
한동안 파일들이 ``.hdr``파일과 연계되어 오지 않았습니다. 이런 경우에는 이 예제에서 보였더 것처럼 직접 이 파일을 만들어야만 합니다.
데이터 획득
예제로써 `Global Land Cover Facility <http://glcf.umd.edu/>`_의 `AVHRR Global Land Cover Classification data <http://glcf.umd.edu/data/landcover/data.shtml>`을 사용할 것입니다.
Global Coverage 데이터셋은 BSQ 파일로 배포됩니다. 1 Degree pixel resolution 데이터셋을 다운로드 하십시오.
For convenience, you may directly download a copy of the dataset from the link below:
과정
Unzip and extract the .bsq file. On Windows, you may use the excellent 7-Zip utility to read and extract .gz file. You will see that you only have a .bsq file named
gl-latlong-1deg-landcover.bsq. There is no hdr file.
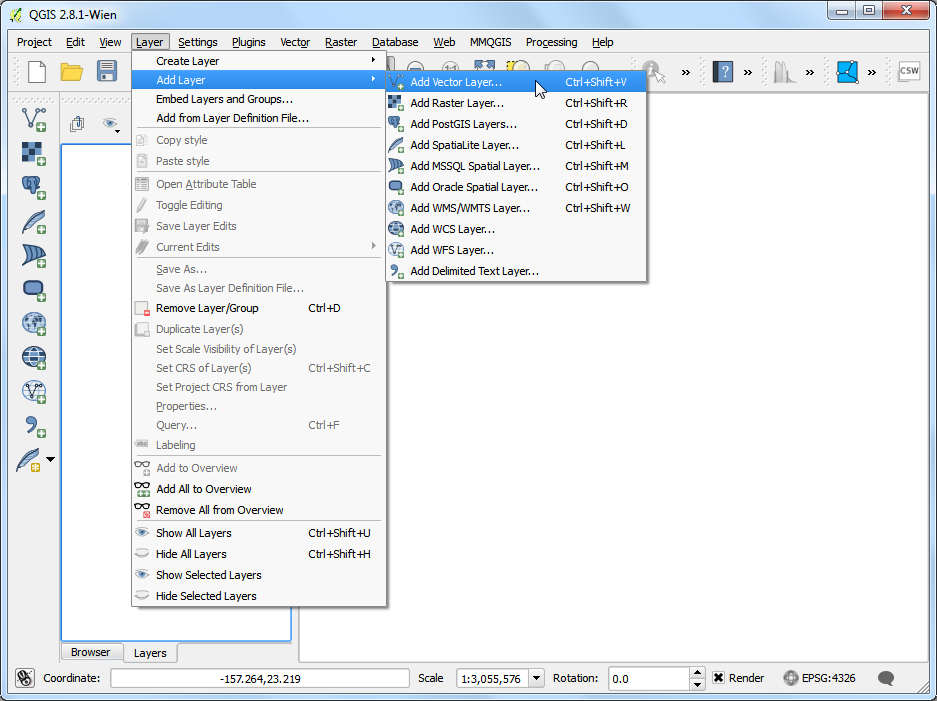
QGIS에서 ``gl-latlong-1deg-landcover.bsq``파일을 열려고 한다면 에러 메세지를 보게될 것이라는 것을 유념하십시오.
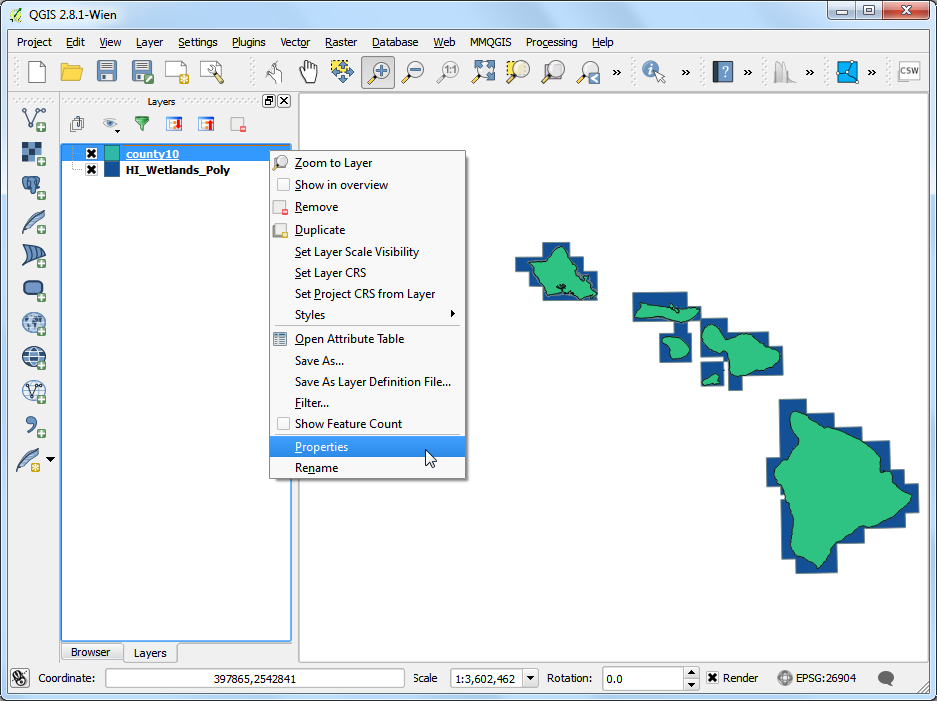
이 에러를 없애기 위해서는 ``.hdr``라는 확장자를 가진 헤더파일을 만들어야 합니다. 헤더 파일은 데이터셋에 관한 정보와 그것을 어떻게 정리해야하는지가 담겨있습니다. 일반적으로 이 정보는 데이터셋에 대한 메타데이터의 부분으로서 제공되어집니다. 만약 메타데이터가 없다면 실마리가되는 웹사이트 혹은 문서를 찾아보십시오. 그것을 모른다해도 정보의 일부는 추측할 수 있습니다. 이 데이터셋의 경우에는 데이터 다운로드 페이지 링크가 `metadata <ftp://ftp.glcf.umd.edu/glcf/Global_Land_Cover/Global/1deg/gl-latlong-1deg-landcover.glcf>`_에 연결되어 있습니다. 메타데이터를 다운로드하고 여십시오.
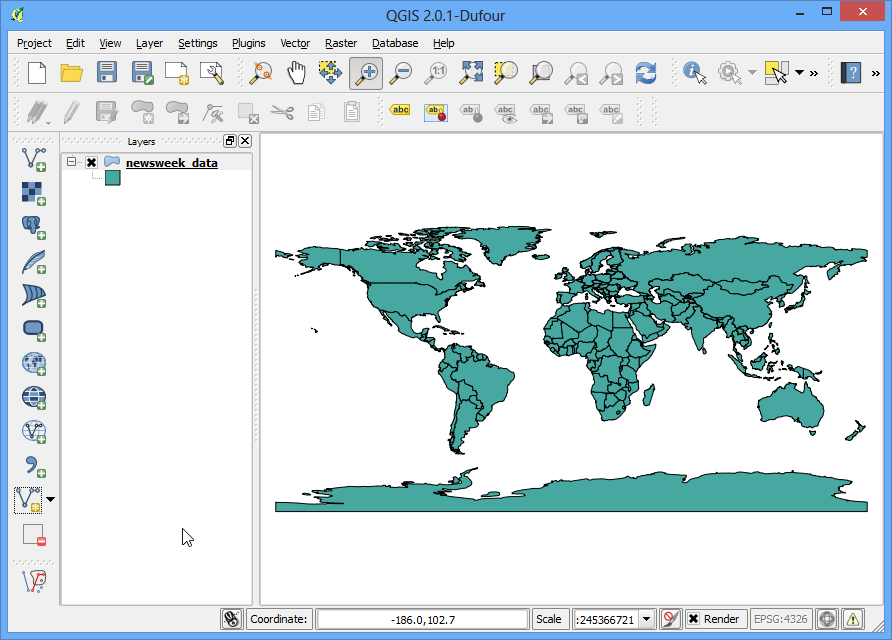
.hdr 파일은 일반 텍스트파일일 필요가 있습니다. 이러한 매개변수의 일부는 주어지고 일부는 만들어질 필요가 있습니다. 포맷에 대해 더 알고자 한다면 Learn more about the format.
ncols <number of columns or width of the raster>
nrows <number of rows or height of the raster>
cellsize <pixel size or resolution>
xllcorner <X coordinate of lower-left corner of the raster>
yllcorner <Y coordinate of the lower-left corner of the raster>
nodata_value <pixel value to be ignored>
nbits <number of bits per pixel>
pixeltype <type of values stored in a pixel, typically float or integer>
byteorder <byte order in which image pixel values are stored, msb or lsb>
Open a text editor and create a file in the format specified in the previous step. Save the file as
gl-latlong-1deg-landcover.hdr. Make sure the file doesn’t have.txtat the end. Some of the values in the text files are easy to understand. The ncols and nrows come from the metadata as the Number of Lines and Number of Pixels per Line. The cellsize is 1 as the Pixel resolution from the metadata. The X,Y coordinate of lower-left corner needs to be worked out by us. Since the file covers the entire World and units are lat/long, xllcorner and yllcorner are -180 and -90 respectively. We do not have any information about the nodata_value, so -9999 is a safe bet. From metadata again, Pixel Format is Byte, so nbits will equal to 8 and pixeltype will be byte_unsigned. We do not have information about the byteorder, so leave it as msbfirst. You may download the correctly formatted HDR file from here.
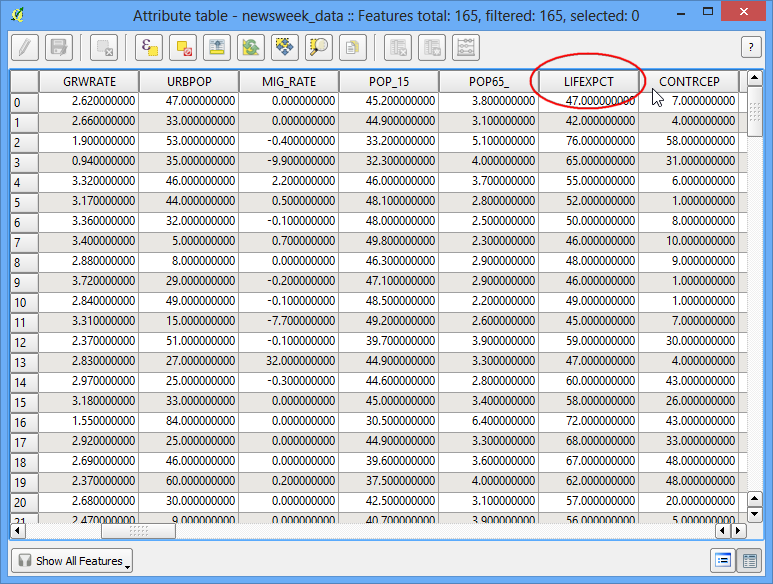
이제 헤더파일이 생겼습니다. ``gl-latlong-1deg-landcover.bsq``파일과 같은 디렉토리에 놓습니다. 그럼 QGIS에서 메뉴 레이어 –> 래스터 레이어 추가 :menuselection:`Layer –> Add Raster Layer`로 갑니다. 입력으로 ``gl-latlong-1deg-landcover.bsq``를 선택하고 열기 :guilabel:`Open`를 클릭합니다.
다음 화면에서 좌표계를 선택하라는 창을 만날것입니다. 데이터가 위도/경도이므로 좌표계로 **WGS84 EPSG:4326**를 선택합니다. 이제 QGiS에 데이터셋이 불러들여지는 것을 보게됩니다.
 Ujaval Gandhi