 Ujaval Gandhi
Noțiuni de Bază Despre Programarea în Python (QGIS3)
QGIS are o interfață de programare puternică, care vă îngăduie să extindeți funcționalitatea de bază a aplicației, precum și să scrieți script-uri pentru automatizarea sarcinilor. QGIS suportă limbajul de scripting popular, Python. Chiar dacă sunteți un începător, învățarea unor noțiuni despre Python și despre interfața de programare a QGIS vă permite să fiți mult mai productivi în munca dvs. Acest tutorial nu necesită cunoștințe de programare prealabile, având scopul de a oferi o introducere în scriptarea Python, în cadrul QGIS (PyQGIS).
Privire de ansamblu asupra activității
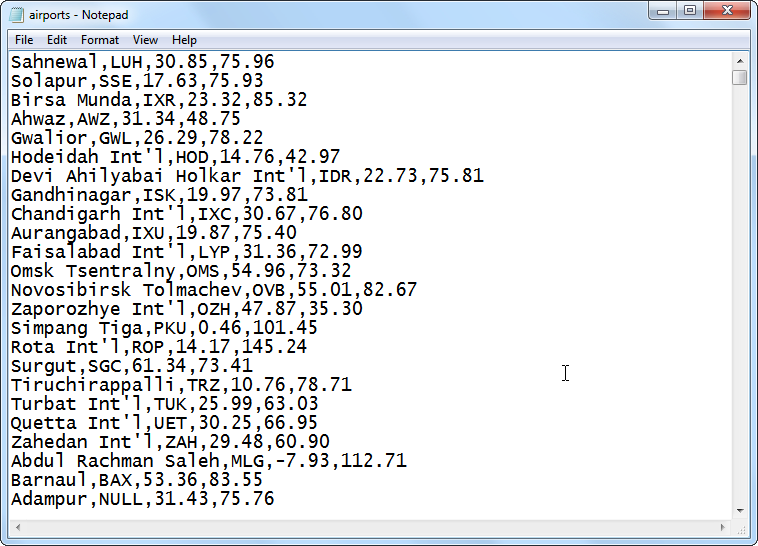
Vom încărca un strat vectorial de tip punct, reprezentând toate aeroporturile majore, folosind scriptarea Python pentru a crea un fișier text cu numele, codul, latitudinea și longitudinea pentru fiecare dintre aeroporturile stratului.
Obținerea datelor
Vom folosi setul de date Aeroporturi de la Natural Earth.
Download the Airports shapefile.
Procedura
Locate the
ne_10m_airports.zipfile in the QGIS Browser and expand it. Select thene_10m_airports.shpfile and drag it to the canvas.
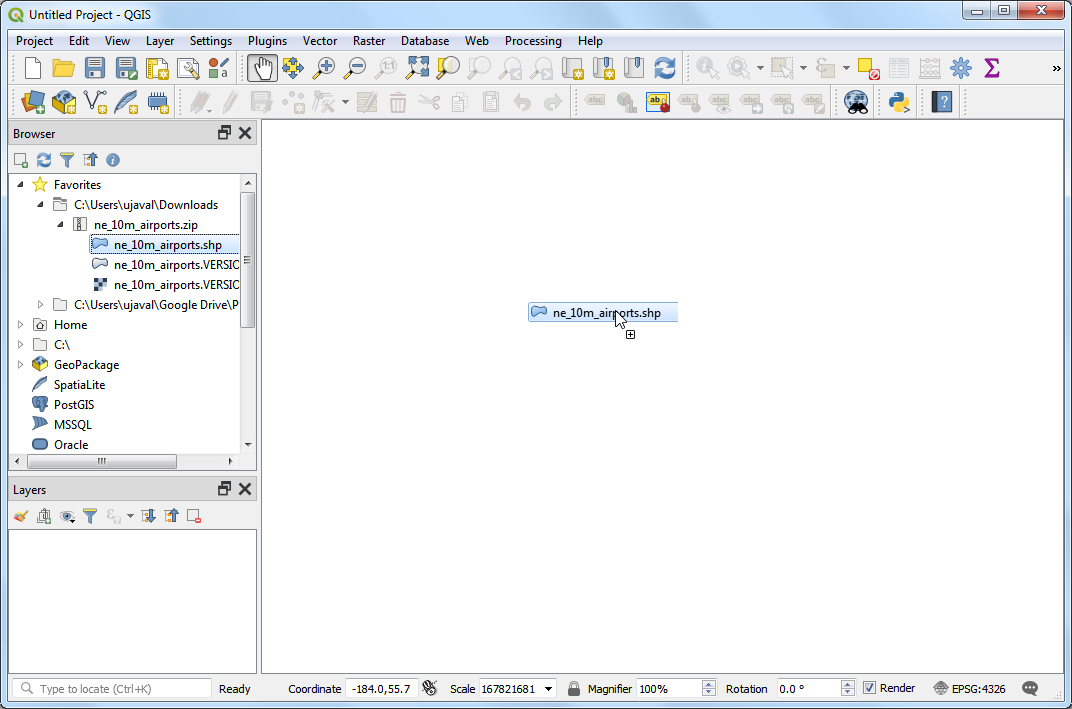
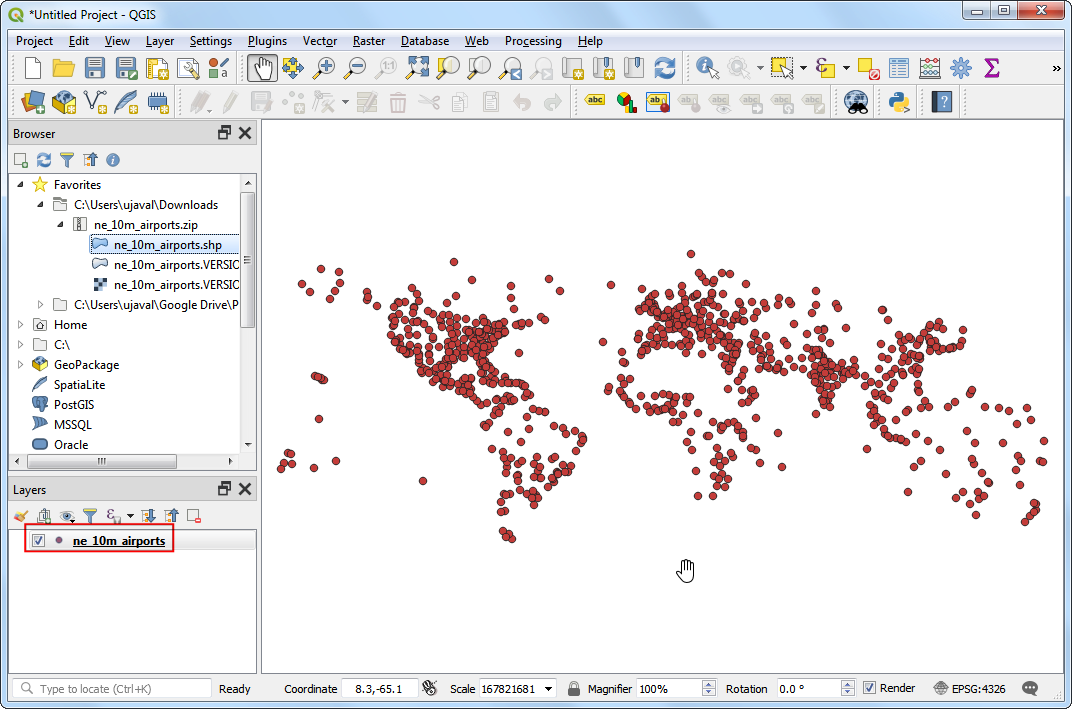
Veți vedea stratul
ne_10m_airportsîncărcat în QGIS.
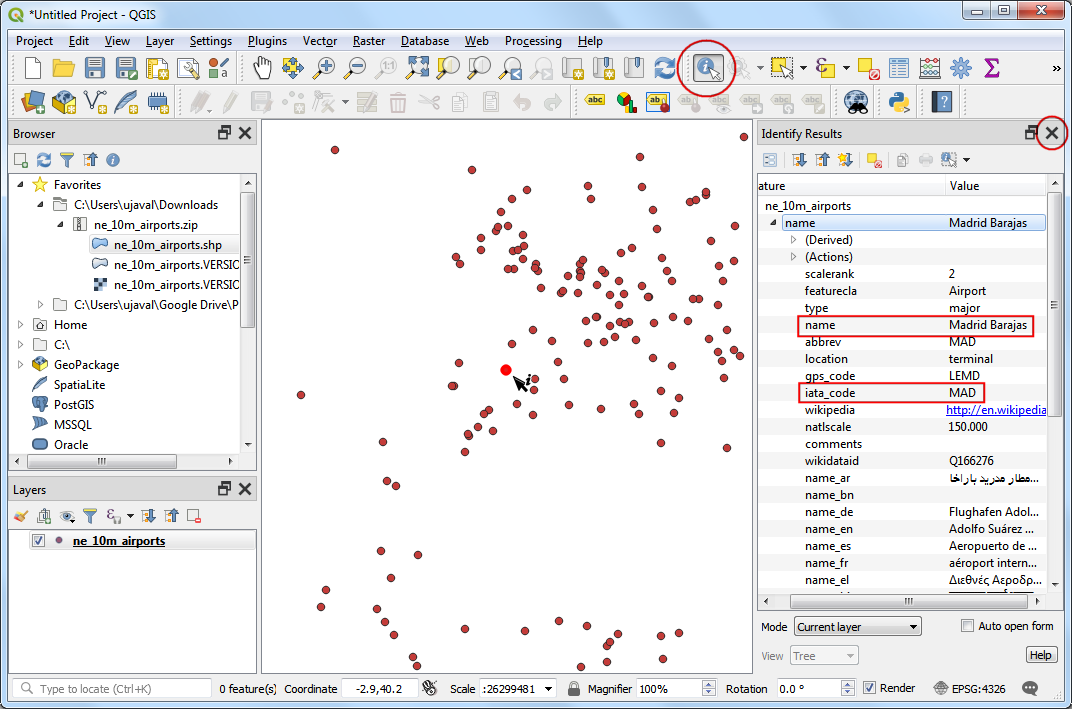
Selectați instrumentul Identify apoi faceți clic pe oricare dintre puncte, pentru a examina atributele disponibile. Veți vedea că numele aeroportului, precum și codul acestuia, compus din 3 cifre, sunt conținute în atributele
name, respectiviata_code. Puteți închide fereastra Identify.
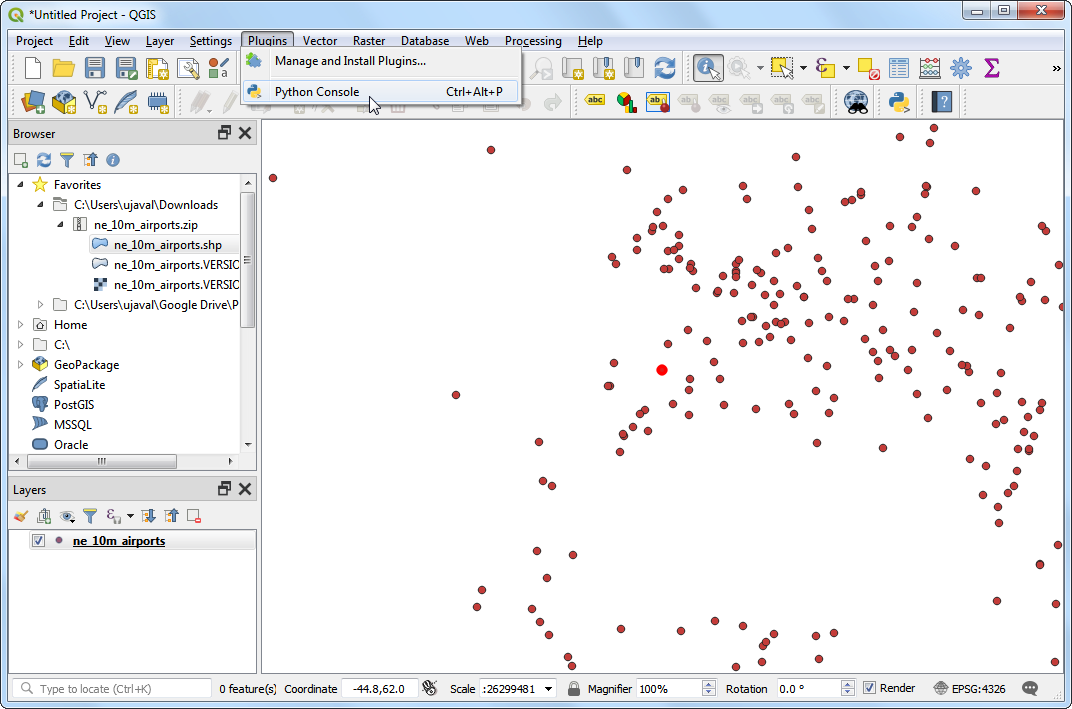
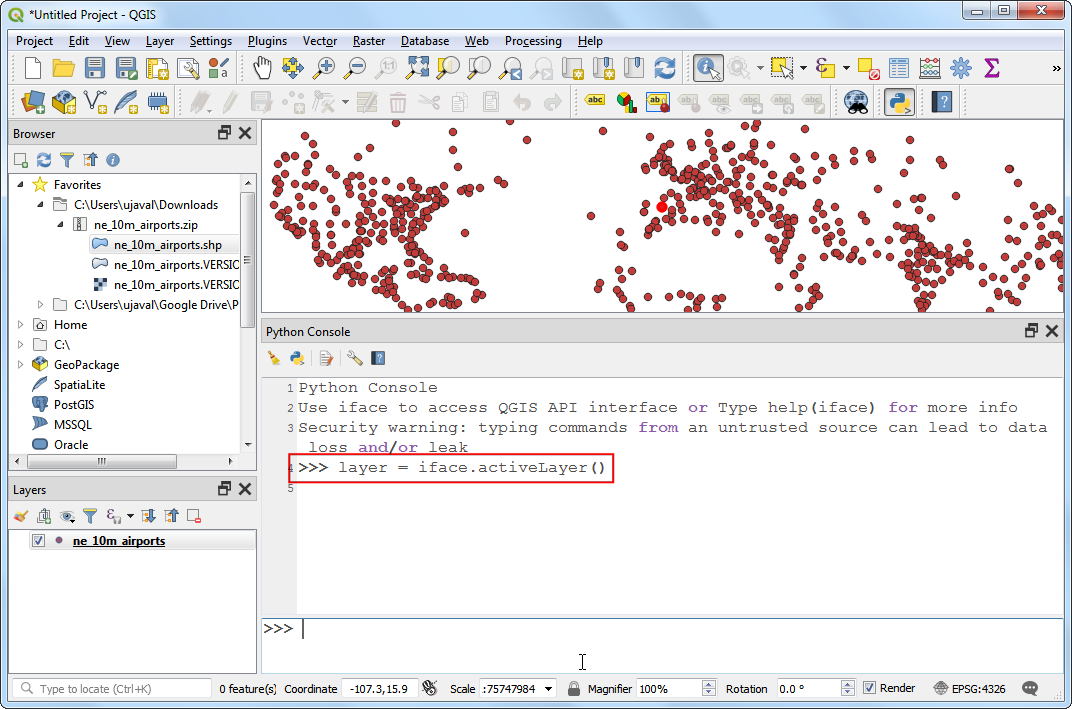
QGIS provides a built-in console where you can type python commands and get the result. This console is a great way to learn scripting and also to do quick data processing. Open the Python Console by going to .
You will see a new panel open at the bottom of QGIS canvas. You will see a prompt like
>>>at the bottom where you can type commands. For interacting with the QGIS environment, we must use theifacevariable. To access the currently active layer in QGIS, you can type the following and press Enter. This command fetches the reference to the currently loaded layer and stores it in thelayervariable.
layer = iface.activeLayer()
There is a handy function called
dir()in python that shows you all available methods for any object. This is useful when you are not sure what functions are available for the object. Run the following command to see what operations we can do on thelayervariable.
dir(layer)
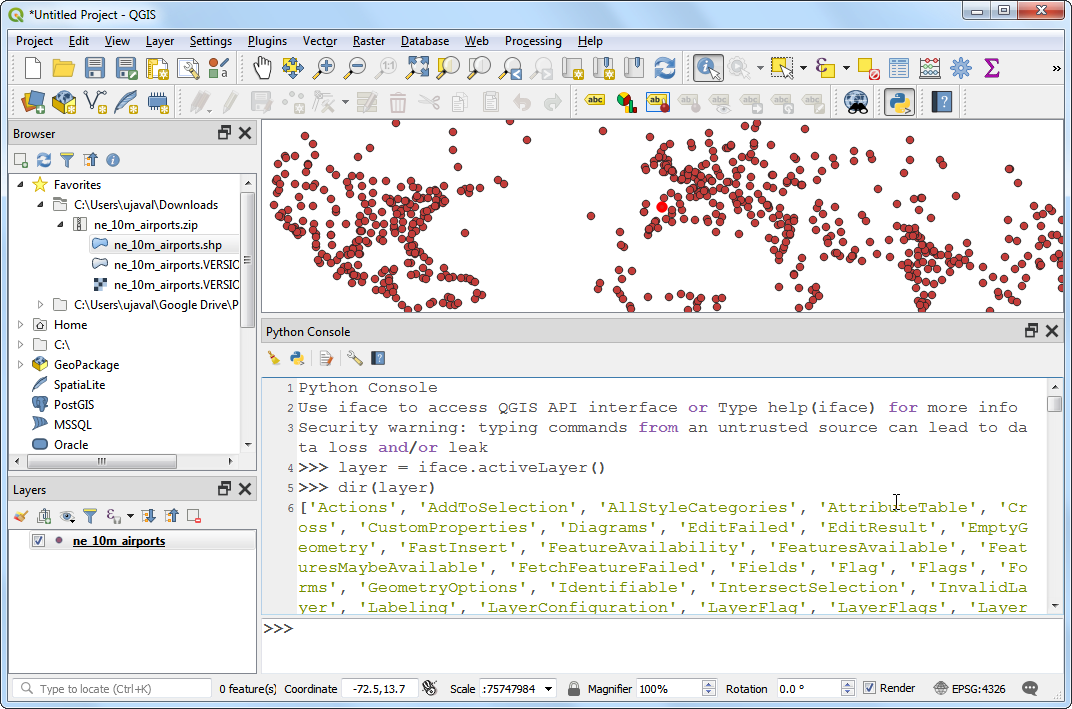
You will see a long list of available functions. For now, we will use a function called
getFeatures()which will gets you the reference to all features of a layer. In our case, each feature will be a point representing an airport. You can type the following command to iterate through each of the features in the current layer.
Notă
Indentation (or number of spaces before each statement) is very important in Python. If you get error in this step, make sure you have added 2 spaces before typing the second line.
As the print(f) statement is inside a for-loop, you will need to press Enter twice after that statement - once to exit the loop - and another to execute the command.
for f in layer.getFeatures():
  print(f)
As you will see in the output, each line contains a reference to a feature within the layer. The reference to the feature is stored in the
fvariable. We can use thefvariable to access the attributes of each feature. Type the following to print thenameandiata_codefor each airport feature.
for f in layer.getFeatures():
  print(f['name'], f['iata_code'])
So now you know how to programatically access the attribute of each feature in a layer. Let’s see how we can access the coordinates of the feature. The coordinates of a vector feature can be accessed by calling the
geometry()function. This function returns a geometry object that we can store in the variablegeom. You can runasPoint()function on the geometry object to get the x and y coordinates of the point. If your feature is a line or a polygon, you can useasPolyline()orasPolygon()functions. Type the following code at the prompt and press Enter to see the x and y coordinates of each feature.
for f in layer.getFeatures():
  geom = f.geometry()
  print(geom.asPoint())

What if we wanted to get only the
xcordinate of the feature? You can call thex()function on the point object and get its x coordinate.
for f in layer.getFeatures():
  geom = f.geometry()
  print(geom.asPoint().x())
Now we have all the pieces that we can stitch together to generate our desired output. Type the following code to print the name, iata_code, latitude and longitude of each of the airport features. Here we are using the
.format()method which gives more control on printing multiple variables. The.2fnotation is to limit the coordinates to 2 decimals.
for f in layer.getFeatures():
  geom = f.geometry()
  print('{},{},{:.2f},{:.2f}'.format(f['name'], f['iata_code'], geom.asPoint().y(), geom.asPoint().x()))

You can see the output printed on the console. A more useful way to store the output would be in a file. You can type the following code to create a file and write the output there. Replace the file path with a path on your own system. Note that we add
\nat the end of our line formatting. This is to add a newline after we add the data for each feature.
Notă
There are 2 levels of code blocks below. Do make sure to add 4 spaces to the code starting line 3.
with open('/Users/ujaval/Desktop/airports.txt', 'w') as file:
  for f in layer.getFeatures():
    geom = f.geometry()
    line = '{},{},{:.2f},{:.2f}\n'.format(f['name'], f['iata_code'], geom.asPoint().y(), geom.asPoint().x())
    file.write(line)
You can go to the output file location you specified and open the text file. You will see the data from the airports shapefile that we extracted using python scripting.
If you want to give feedback or share your experience with this tutorial, please comment below. (requires GitHub account)